1Step 1
Two steps before your first campaign
Campaigns go out from your own address: first connect your business email (its own guide), then verify your domain. The Email campaigns page shows where you are.
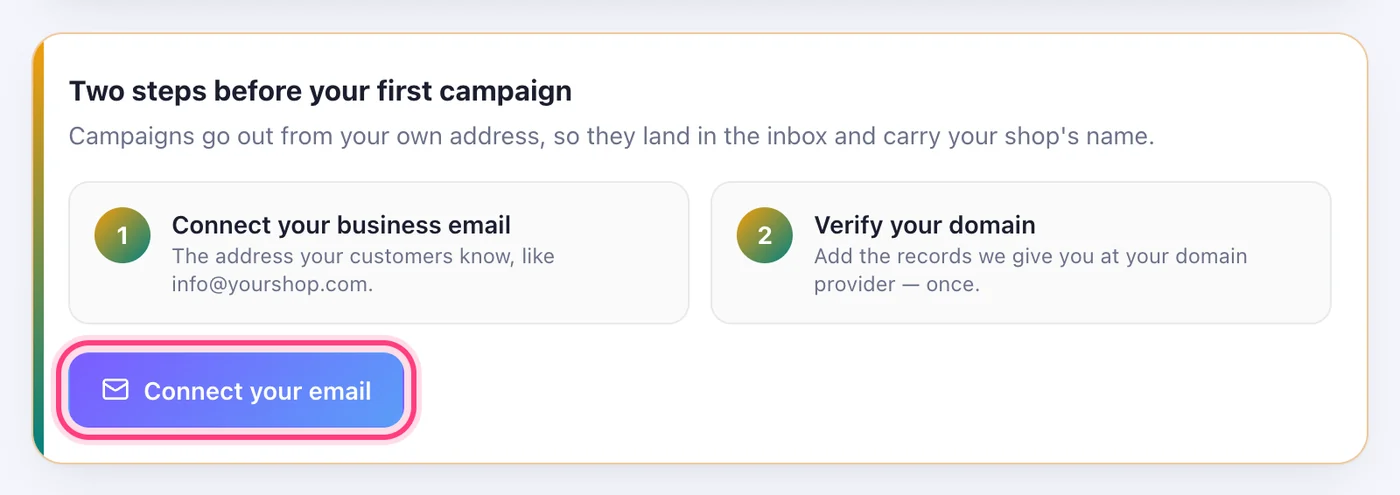
Campaigns go out from your own address, so they land in the inbox and carry your shop's name.
5 stepsCampaigns go out from your own address: first connect your business email (its own guide), then verify your domain. The Email campaigns page shows where you are.
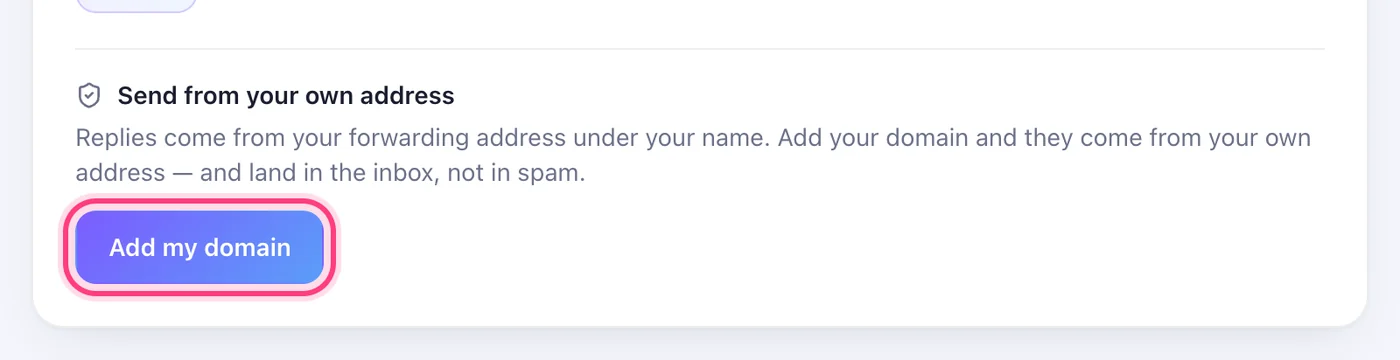
On the email account's “Email settings” tab, under “Send from your own address”. It needs an address on your own domain — a free Gmail or Outlook address can't be verified.
A short table appears: each record's type, name and value. Tap a name or a value to copy it.
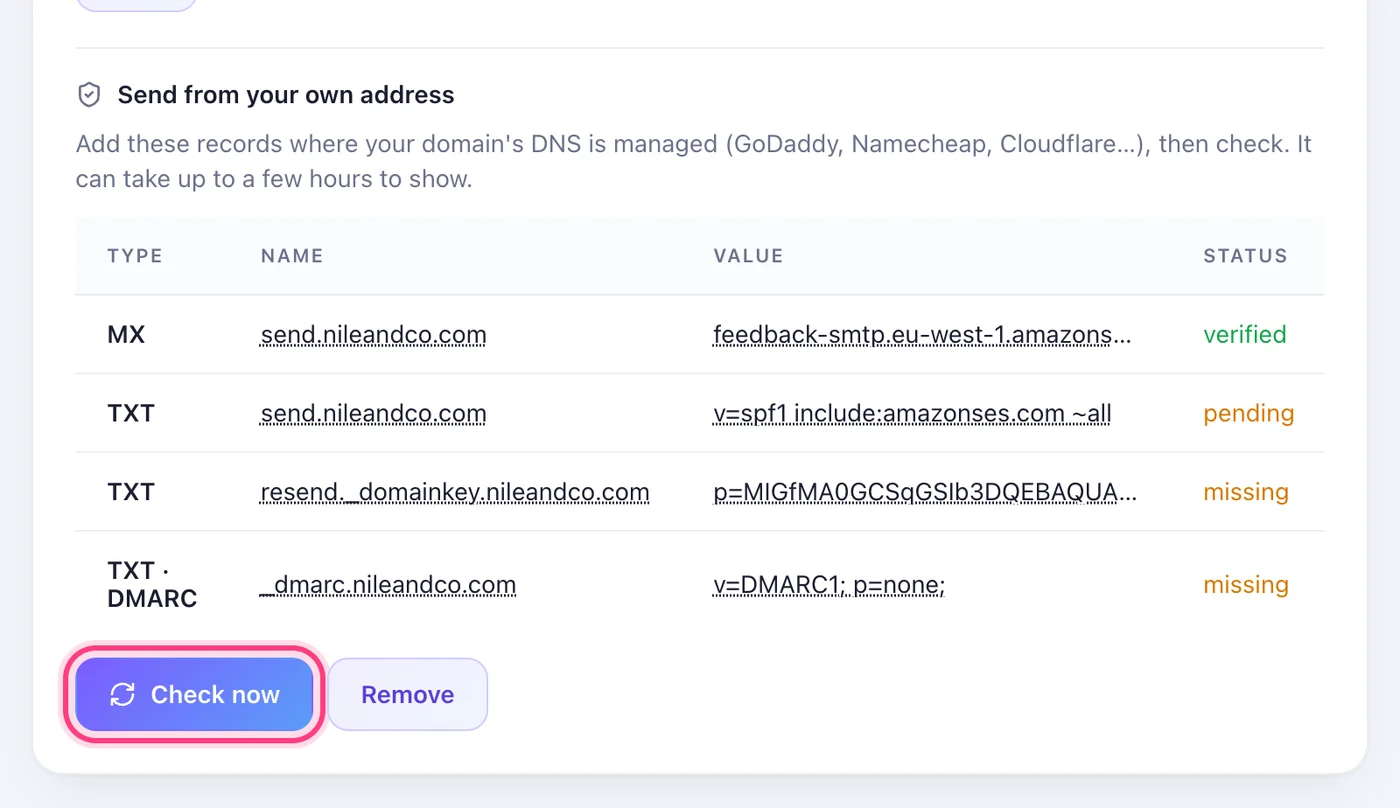
In GoDaddy, Namecheap, Cloudflare or wherever your domain's DNS is managed, add each record exactly as shown. Then press “Check now” — it can take up to a few hours to show.
This step happens on another site, so it looks the way that site looks on the day.
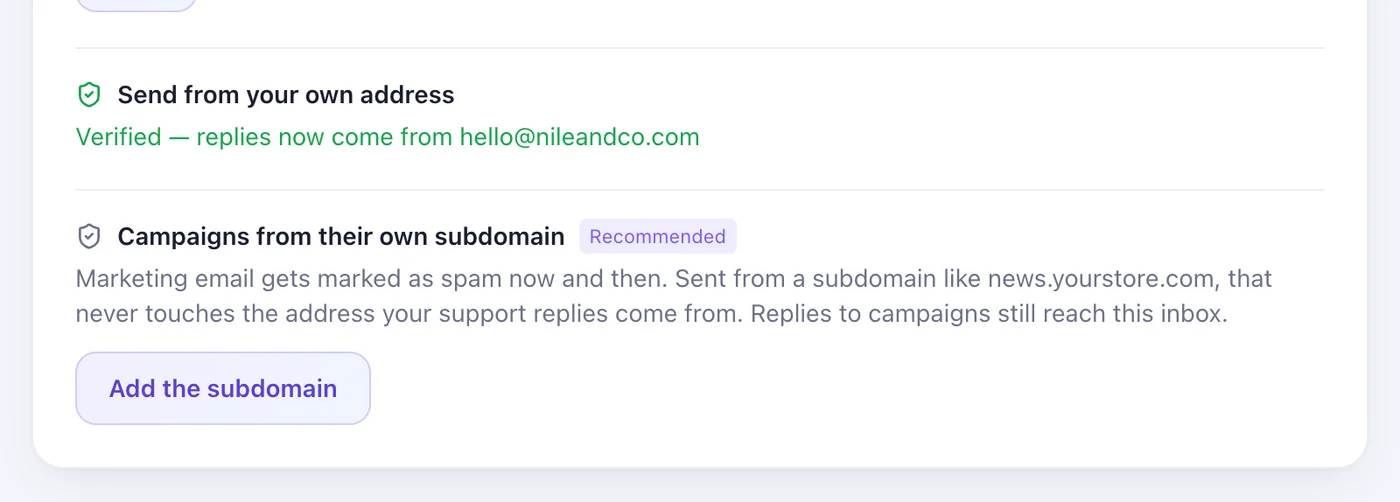
Replies and campaigns now come from your address. Recommended: “Campaigns from their own subdomain” keeps marketing on a separate name, so your everyday address stays clean.